


Deep down inside, Kindle Fires are actually Android tablets — the only trouble is, Amazon has layered so much of a skin on top of it all that you can't normally use Android's main app store, the Google Play Store. The Amazon Appstore, which comes bundled with Kindle Fire devices, only has about 600,000 apps, so it would be great if you could access Google Play's library, which boasts 2.8 million.
With access to that many apps, older Kindle Fire devices can find new purpose by installing the Google Play Store, and it's actually not that hard to do. This is especially helpful as an inexpensive tablet solution for a young child, as this generation of Kindle Fires starts at $49.99 from Amazon, and are likely cheaper from other retailers. So open up your Kindle, fire up your computer, and roll up your sleeves — because I'll show you how to install the Google Play Store below.
Requirements
- Windows, Mac, or Linux computer
- USB data cable
Install ADB on Your Computer
First up, you'll need to install a command line tool known as ADB — but worry not, as it's a simple process, even for novice users. Use Method 1 at the following guide to get ADB installed on your computer, then you'll be ready to move onto the next step.
Get Super Tool & Move the Files into Place
Next up, you'll need to download a utility called SuperTool by RootJunky, which is what you'll be using to actually install the Play Store on your Kindle Fire. So click the following link from your computer, then once the download completes, unzip the file to a folder you can access easily.
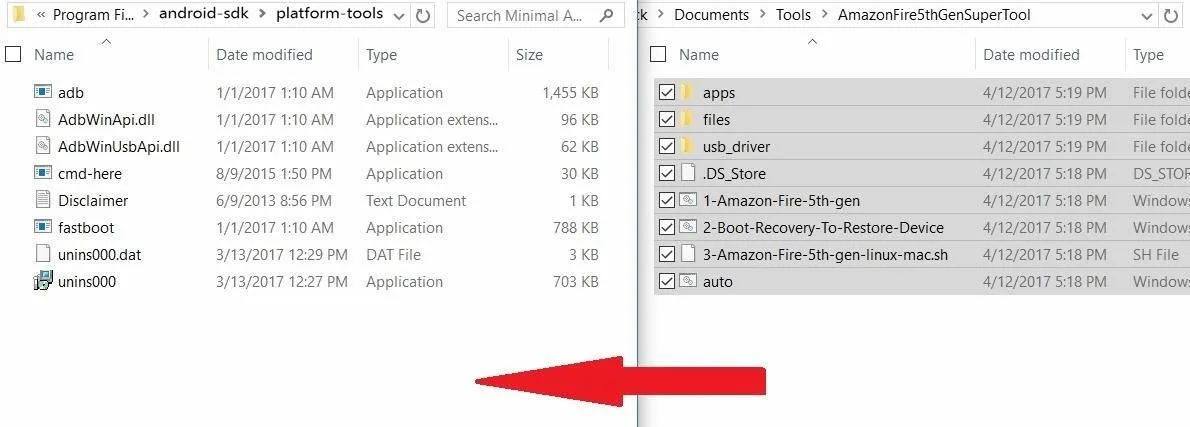
Windows users will need to take one additional step after decompressing the folder. Copy all of the contents inside of the "AmazonFire5thGenSuperTool" folder that you just unzipped, then paste them into your ADB installation folder. If you followed the guide in Step 1, you'll find your ADB installation folder at C:\Program Files (x86)\Android\android-sdk\platform-tools. Keep this window open, as you'll need to use it later.
Prep Your Kindle Fire
Now you'll need to activate "Developer options" in your Kindle Fire's Settings. To do this, tap the "Settings" icon followed by the "Device options" link. Scroll down and find the "Serial number" entry, then tap this entry seven times in rapid succession.
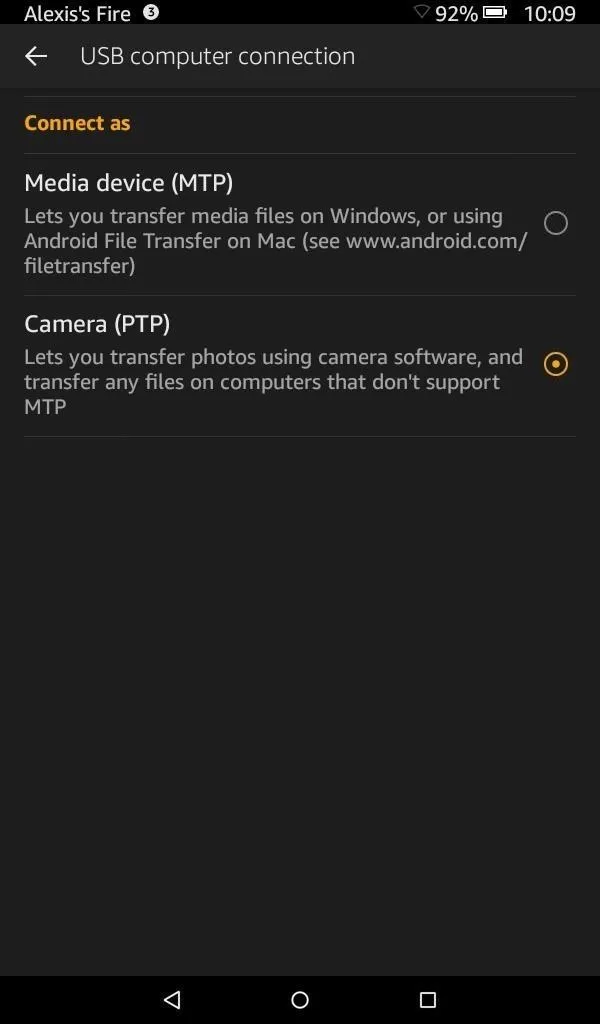
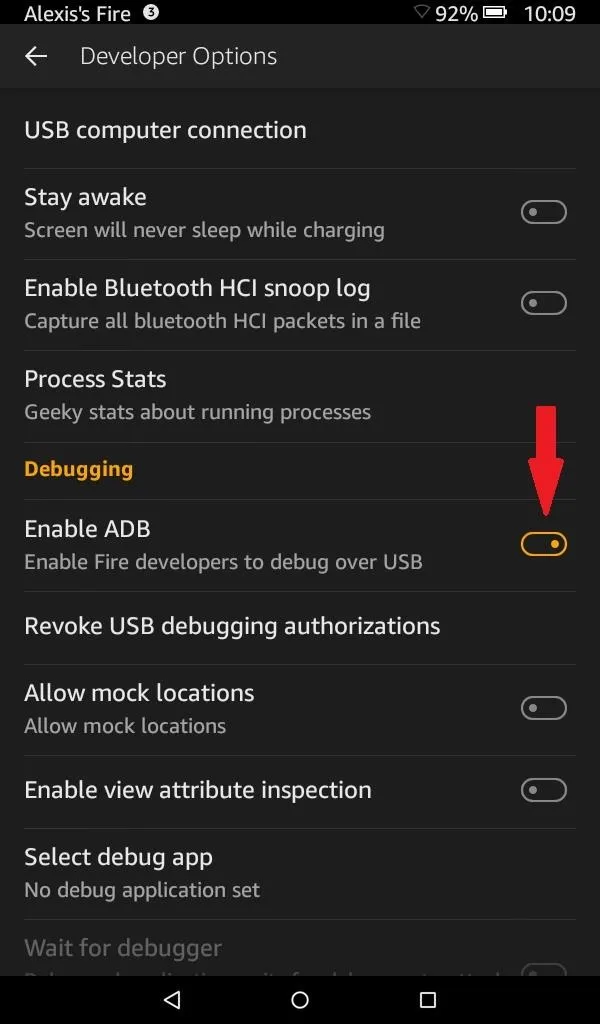
Next, open "Developer Options," which should populate as a link just below "Serial Number." First, tap on "USB computer connection," then set it to "Camera (PTP)." After that, back out of this section, then switch on the "Enable ADB" option.
Connect Your Kindle Fire & Run the SuperTool
Now that your Kindle Fire is ready, connect the device to your computer. The screen should ideally stay on during the entire process, so open Settings and head to "Display," then set the "Display Sleep" option to at least 10 minutes.


This next part will vary depending on your computer's operating system. For Windows, you'll simply need to double-click the "1-Amazon-Fire-5th-gen" batch file.
For Mac users, you'll need to open both the decompressed "_MACOSX" folder as well as an instance of Terminal. Type chmod 755 sh followed by a space, then drag the "._3-Amazon-Fire-5th-gen-linux-mac.sh" file into Terminal and hit enter. After doing so, the RootJunky tool will initialize then look for your device using the ADB tool we installed during the first step.
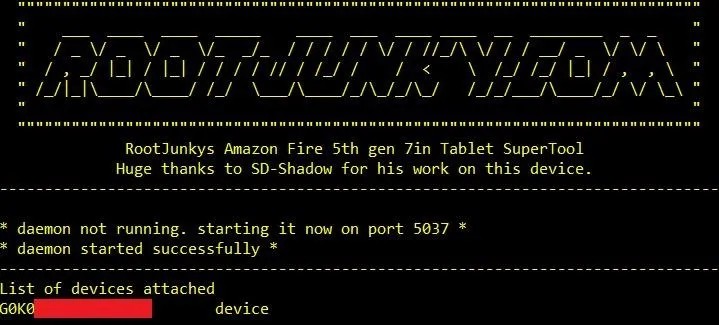
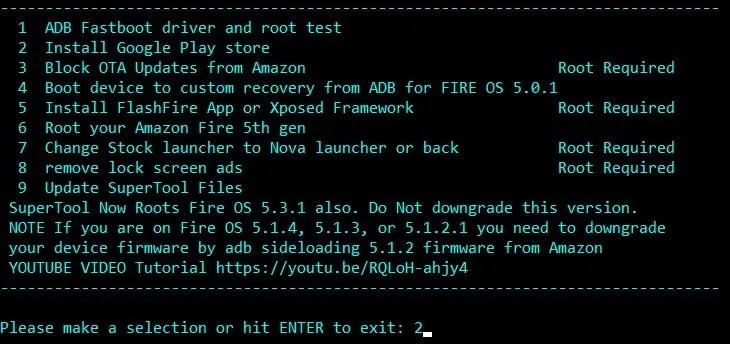
A few moments will pass before a menu appears asking you what you'd like to do next. Since we're only covering Play Store installation, type in "2" and press "Enter" to begin the install.
A few more prompts will appear reminding you that ADB is required for this process to work. Confirm each prompt to run the software installation.
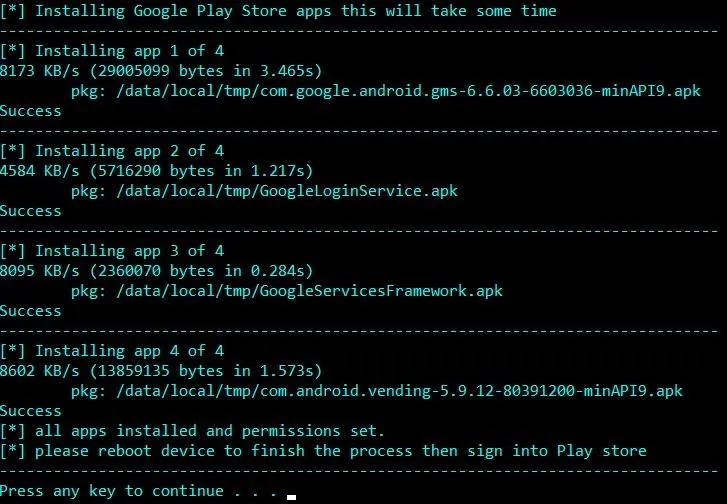
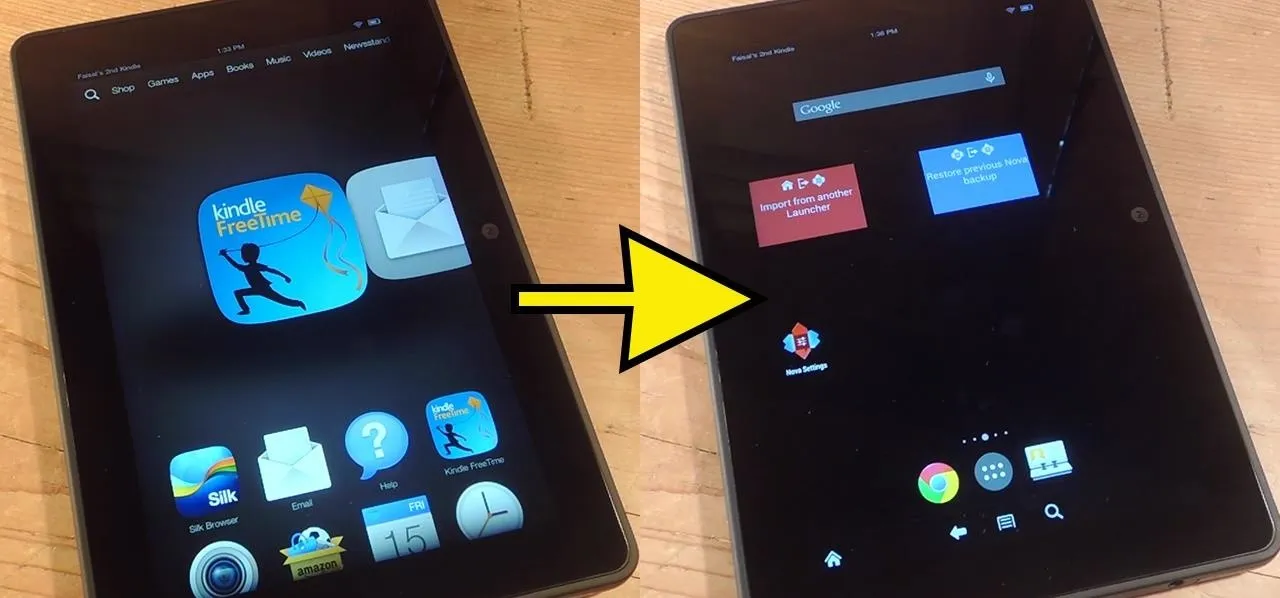
After this process is finished, press any key to continue, then disconnect your Kindle Fire from your computer. Next, restart your Kindle Fire, and when you get back up, you'll find that the Google Play Store app has been installed. Open the app, then sign in with your Google account when prompted.
Install Google Play Services to Get Apps
The only task left is to install Google Play Services to your Kindle Fire, which can be done through the Google Play Store app you've just installed. But for some reason, it doesn't like to come up when using the search function in the Google Play Store. So either follow the link below or attempt to install any app, at which point you should be prompted to install Google Play Services.

At this point, you're all set and ready to start installing apps from the Google Play Store. Keep in mind, though, internal storage is fairly limited on these devices, so don't go too wild installing software. What are some of the apps you've installed from Google Play? Let us know in the comment section below.
- Follow Gadget Hacks on Facebook, Twitter, Google+, and YouTube
- Follow Android Hacks on Facebook, Twitter, and Pinterest
- Follow WonderHowTo on Facebook, Twitter, Pinterest, and Google+
Cover image background via cs32/Pixabay


Comments
Be the first, drop a comment!